Krita Game Icon Workflow: From Sketch to Clean Transparent PNG
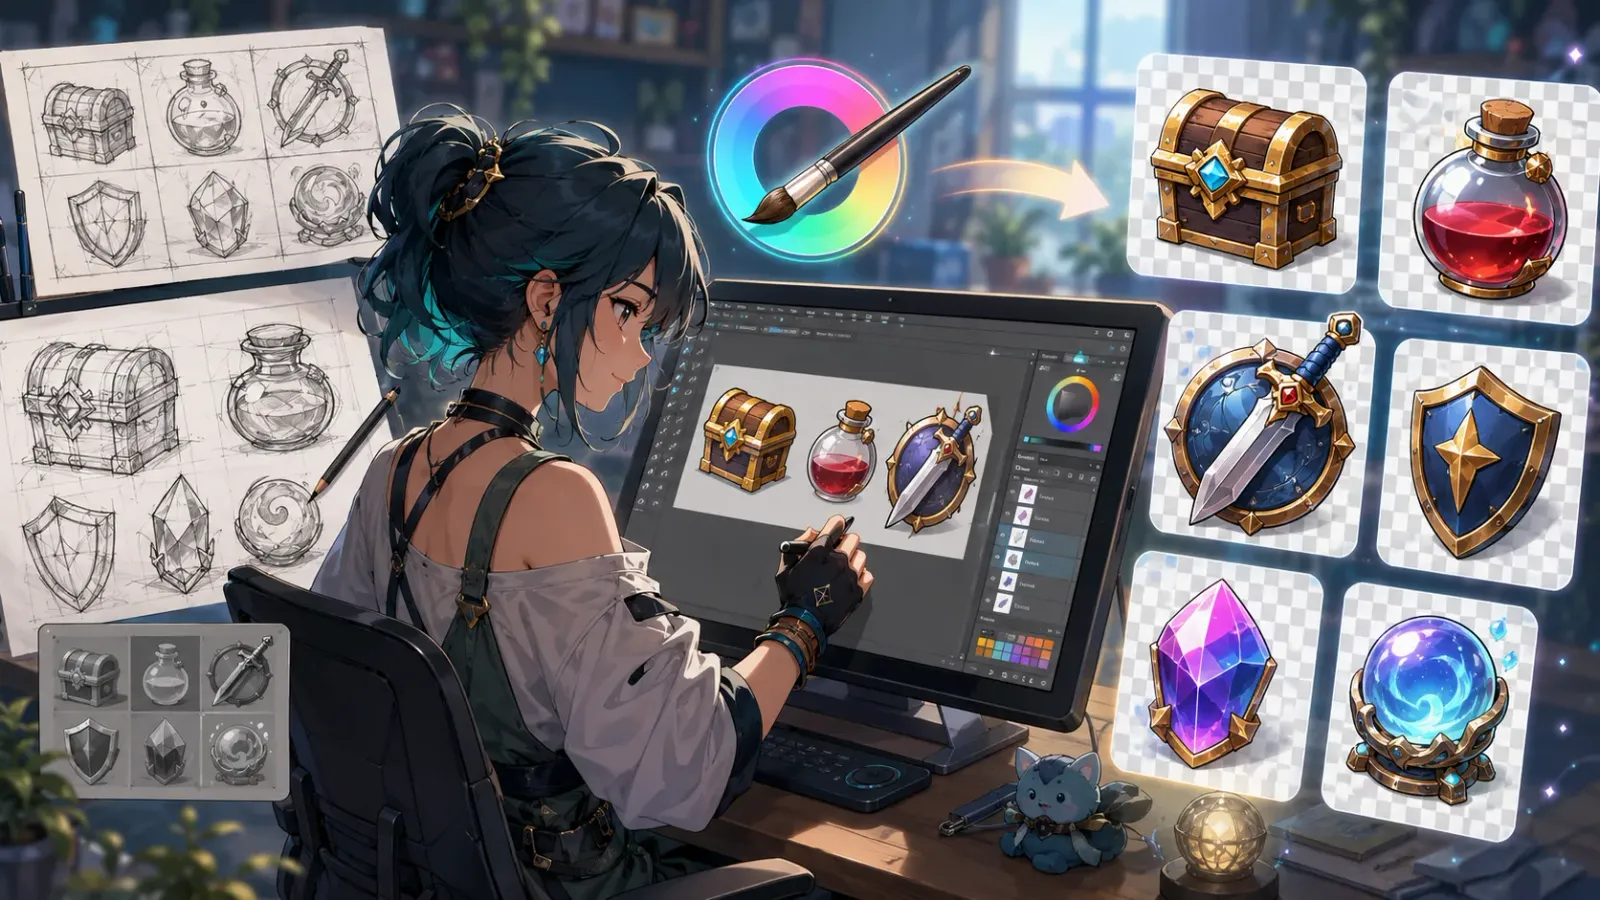
Krita Game Icon Workflow: From Sketch to Clean Transparent PNG
The Core Problem
When drawing game icons in Krita, the most common problem is not failing to draw something. The real issue is that the finished icon becomes muddy, blurry, gray, or unreadable once it is placed inside a game UI. This happens especially with small item, skill, and equipment icons. Details that look fine on a large canvas can collapse once the icon is scaled down to 64px or 128px.
Another common issue is messy export. The background may be left on, semi-transparent edges may pick up dirty colors, the object may sit too close to the canvas edge, or the shadow may fight against the UI frame. Once the asset enters a game engine or website, it needs another cleanup pass. This note outlines a stable Krita workflow for producing transparent PNG icons that work inside a game interface, not only inside a painting app.

The Solution
I split the process into four layers of thinking: silhouette, value, material, and export. First, make sure the icon can be recognized at small sizes. Only after that should color and texture be refined. This order is more reliable than starting with details because the purpose of a game icon is not to show brushwork. It is to help players understand the object quickly.
Start with a 1024 x 1024 px canvas, then export final versions at sizes such as 512px, 256px, and 128px. A large canvas gives more control over strokes, but every stage should still be checked as a thumbnail. In Krita, you can keep a small Navigator panel visible or regularly zoom out to 12.5% and 25% to test readability.
Implementation Steps
Step 1: Build the black-and-white silhouette first
After creating a transparent canvas, do not rush into color. Use a dark brush to block in the largest outer shape of the item or skill, such as a potion bottle, sword, fireball, ore, or magic symbol. At this stage, only the shape matters. Material does not.
The test is simple: zoom out until the icon is roughly 128px. If the object can still be recognized at a glance, the silhouette works. If it turns into a dark blob, exaggerate the shape. Extend the sword handle, enlarge the bottle neck, or make the flame tips more distinct.
Step 2: Create three value groups
Once the silhouette works, build volume with three value groups: shadow, midtone, and highlight. Avoid stacking too many soft gradients too early. Small icons are easy to flatten when the values are too close together. Keeping the main light from the upper left also helps every icon in a set feel consistent.
Use a clear layer group structure:
Icon_Group
- highlight
- color
- shadow
- silhouette
silhouette controls the shape, shadow builds volume, color provides the base hue, and highlight adds final emphasis. This structure makes color changes and value adjustments much faster.

Step 3: Focus on one material cue
A small icon does not need to explain every material detail. Metal can be shown through hard-edge reflections. Glass can be shown through sharp highlights and transparent edges. Wood can be shown through a few clear directional grain lines. Choose one primary material cue for each icon and let the rest stay secondary.
For example, a red potion icon does not need every reflection on the bottle. The important idea is “transparent glass, red liquid, white highlight.” A short sword icon should prioritize “bright blade edge, darker handle, clear silhouette.” If the main cue is strong, the icon still works after it is scaled down.
Advanced Tips
In Krita, add a temporary background-check layer at the bottom of the stack. Use dark gray, light gray, or the common UI background color from your game. This layer is only for checking and should not be exported. Many transparent PNG edge problems are invisible on white but immediately show up on dark UI backgrounds.
Another useful trick is a subtle outer outline. Not every icon needs a black stroke, but if your game UI background is visually busy, a thin dark outline can improve readability. Keep the outline controlled. On a 1024px source canvas, something around 8 to 20px is usually enough, then adjust based on the final export size.
Real Example
For a “fire skill” icon, the process can be broken down like this:
- Start with the flame silhouette and give it large, medium, and small tips.
- Fill the base with dark red, add orange midtones, and keep yellow near the core.
- Add a dark outer outline so the flame does not disappear on a bright UI.
- Check the icon at small size. If the center becomes noisy, remove extra strokes.
This workflow is useful for producing item or skill icons in batches. When light direction, outline style, size, and safe margins stay consistent, different icons will feel like they belong in the same UI set.

Common Issues
Q: Why does the exported icon have a white edge?
Usually the background layer was not fully disabled, or a semi-transparent brush picked up white from the background. Before export, check the edge on a dark gray inspection layer and make sure no white fill layer remains at the bottom.
Q: What should I do if the icon becomes unreadable after scaling down?
Remove details first. Do not add more. Concentrate highlights on the main shape, increase outer contrast, and exaggerate proportions if needed.
Q: Should every icon have a shadow?
If the icon will always sit inside the same slot frame, a consistent shadow can work. If the UI already has its own shadow treatment, keep the icon cleaner so the two shadow systems do not compete.
Key Takeaways
Krita is well suited for game icon production, but the workflow should start with readability, not detail. Build the silhouette first, establish three value groups, then add material cues and transparent export checks. This produces much more stable results.
After finishing an icon, export and inspect at least three sizes: 512px for detail, 256px for normal UI use, and 128px for readability. If the icon remains clear at all three sizes, it is much more likely to work inside a real game.
Related Resources:
-
Krita official documentation
- Reference for brushes, layers, transparency, and export settings
-
Krita Layers and Masks
- Documentation for layer and mask workflows
-
Godot Importing Images
- Basic settings for importing images into a game engine
Tags: #Krita #GameIcons #GameArt #UIDesign #TransparentPNG #Tutorial