Blender Project Packing Complete Guide: One-Click Backup All Resources
Why Pack Blender Projects?
Have you encountered these issues:
- 📂 Share project with friends, they open it and all materials disappear
- 💾 Switch computers, find all texture paths broken
- 🔍 Project uses dozens of images scattered across folders, hard to organize
- 🗑️ Accidentally delete a texture, project won’t display properly
These happen because Blender uses “External Reference” by default—.blend files only store image paths, not images themselves.
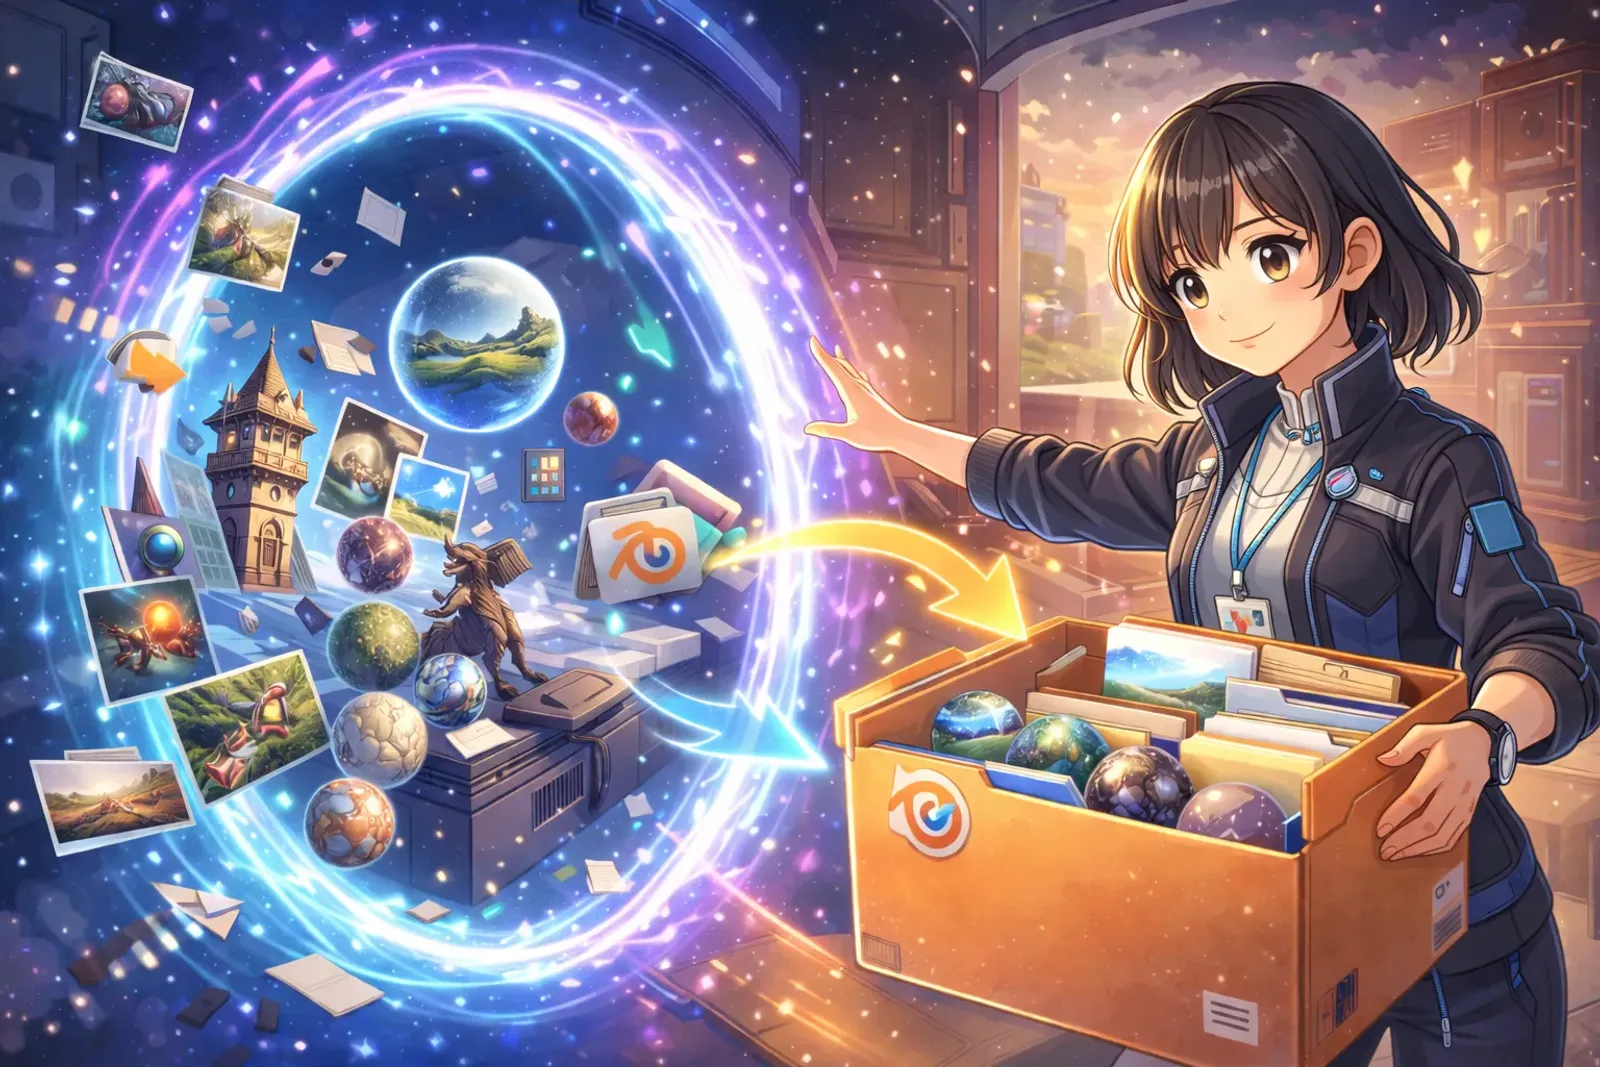
Pack function solves all problems with one click, embedding all external resources (textures, sounds, fonts) into the .blend file, making your project “single file, completely independent”.
Core Packing Concepts
What is “Packing”?
Pack = Embed external files into .blend
When you pack a project, Blender will:
- Find all external reference files (textures, videos, sounds)
- Copy and embed these files into the .blend file
- Update reference paths to internal paths
Result: .blend file becomes larger, but opens normally on any computer without losing resources.
When Should You Pack?
✅ Pack When:
- Sharing project with others
- Backing up important projects
- Transferring to another computer
- Uploading to cloud or USB drive
- Submitting assignments or commercial deliveries
❌ Don’t Pack When:
- Working locally with stable paths
- Using many high-resolution textures (file becomes too large)
- Team uses shared resource library
5-Minute Quick Packing Tutorial
Method 1: One-Click Pack All (Simplest)
Steps:
- Open your Blender project
- Click top menu: File → External Data → Pack Resources
- Choose packing option:
- Pack All Into .blend: Pack all resources (recommended)
- Pack Images: Pack only images
- Save project: File → Save (Ctrl+S)
Done! Project now contains all resources.
Method 2: Selective Packing (Advanced)
If you only want to pack specific resources:
Pack Single Material Texture:
- Switch to Shading workspace
- Select Image Texture in material node you want to pack
- Click folder icon next to image name in properties panel
- Select Pack Image
Check Which Resources Are Packed:
- Open Outliner
- Switch display mode to Blender File
- Expand Images category
- Packed images show 📦 icon
Unpacking Resources
Sometimes you need to unpack embedded resources back to external files (e.g., want to edit textures in Photoshop).
Unpack Steps
- File → External Data → Unpack Resources
- Choose unpack method:
- Use files in current directory: Use project directory
- Write files to current directory: Write files to current directory
- Use files in original location: Use original path (if still exists)
- Write files to original location: Write back to original path
Recommended Option: Write files to current directory (creates textures subfolder in project folder)
Batch Unpack Specific Types
Only want to unpack images but keep other resources:
- Open Outliner → Blender File
- Right-click Images category
- Select Unpack All Into Files
Advanced Techniques & Best Practices
Technique 1: Auto-Pack Settings
Make new projects auto-pack by default:
- Edit → Preferences
- Select File Paths tab
- Check Auto Pack Images
- Click Save Preferences
Pros: Automatically packs new images on import
Cons: File becomes larger, slower save times
Technique 2: Clean Unused Resources
Clean unused resources before packing to reduce file size:
- File → Clean Up → Unused Data-Blocks
- Or use Outliner → Orphan Data to delete manually
Can Clean:
- Unused materials
- Unlinked images
- Extra mesh data
Technique 3: Compress Project File
File too large after packing? Use Blender’s built-in compression:
- File → Save As
- Check Compress File
- Save
Effect: Can reduce 30-50% file size, but slightly slower to open.
Technique 4: Check Missing Resources
Before packing, confirm no missing files:
- File → External Data → Find Missing Files
- Blender attempts to search adjacent folders
- Manually select correct path
Check Method:
- Material displays as pink = missing texture
- Image name in Outliner has ❌ = file not found
Team Collaboration Best Practices
Solution 1: Shared Resource Library (Large Teams)
Setup:
- Create shared network folder for texture library
- Set Asset Library path in Blender
- Team members reference shared resources, don’t pack
- Pack only for final delivery
Pros: Save space, unified management, easy updates
Cons: Requires network access, complex path management
Solution 2: Pack for Delivery (Small Teams/Individual)
Workflow:
- Work with external references (smaller files)
- Pack periodically for backups
- Fully pack for final delivery
File Naming Suggestions:
project_work.blend(working file, unpacked)project_packed_v1.blend(packed version)project_final.blend(final delivery)
Common Issues Solutions
Q1: File becomes huge after packing?
- Use Compress File compression option
- Reduce texture resolution (e.g., 4K → 2K)
- Clean unused resources
- Consider external references instead of full packing
Q2: Still see pink materials after packing?
- Check if material nodes are properly connected
- Confirm you packed “all resources” not just images
- Try reloading project
Q3: Paths messy after unpacking?
- Use Write to current directory option
- Manually organize into
textures/subfolder - Use File → External Data → Make All Paths Relative to convert to relative paths
Q4: How to know if project is packed?
- Outliner → Blender File → Images
- 📦 icon = packed
- File size noticeably increased
Q5: Does packing affect render quality?
- No! Packing only changes storage method, doesn’t affect image quality or render results
Real-World Application Scenarios
Scenario 1: Student Assignment Submission
Recommended Approach:
- After completing project, execute Pack All Into .blend
- Check Compress File to reduce size
- Save as
StudentID_Name_Assignment.blend - Test before uploading: open project and confirm materials are normal
Scenario 2: Freelance Client Delivery
Professional Process:
- Clean unused resources
- Pack all resources
- Prepare two versions:
- Packed version (for client direct use)
- Unpacked version + folder (including all source files)
- Include README documentation
Scenario 3: Multi-Computer Workflow
Solution:
- Use cloud sync (Dropbox, Google Drive)
- Regularly pack backups to separate folder
- Or use relative paths + consistent folder structure
Conclusion: Develop Good Habits
Packing seems simple but is a crucial part of professional workflow. Recommended habits:
✅ Regular packed version backups (weekly or per milestone)
✅ Always pack before sharing (avoid embarrassment)
✅ Use relative paths (increase portability)
✅ Clean unused resources (keep project clean)
Remember: 5 seconds to pack saves hours of file hunting!
Related Resources:
Further Reading: