Blender 2D Game Assets Alignment Guide: Solve Center & Bottom Alignment Once and For All

Blender 2D Game Assets Alignment Guide
The Problem
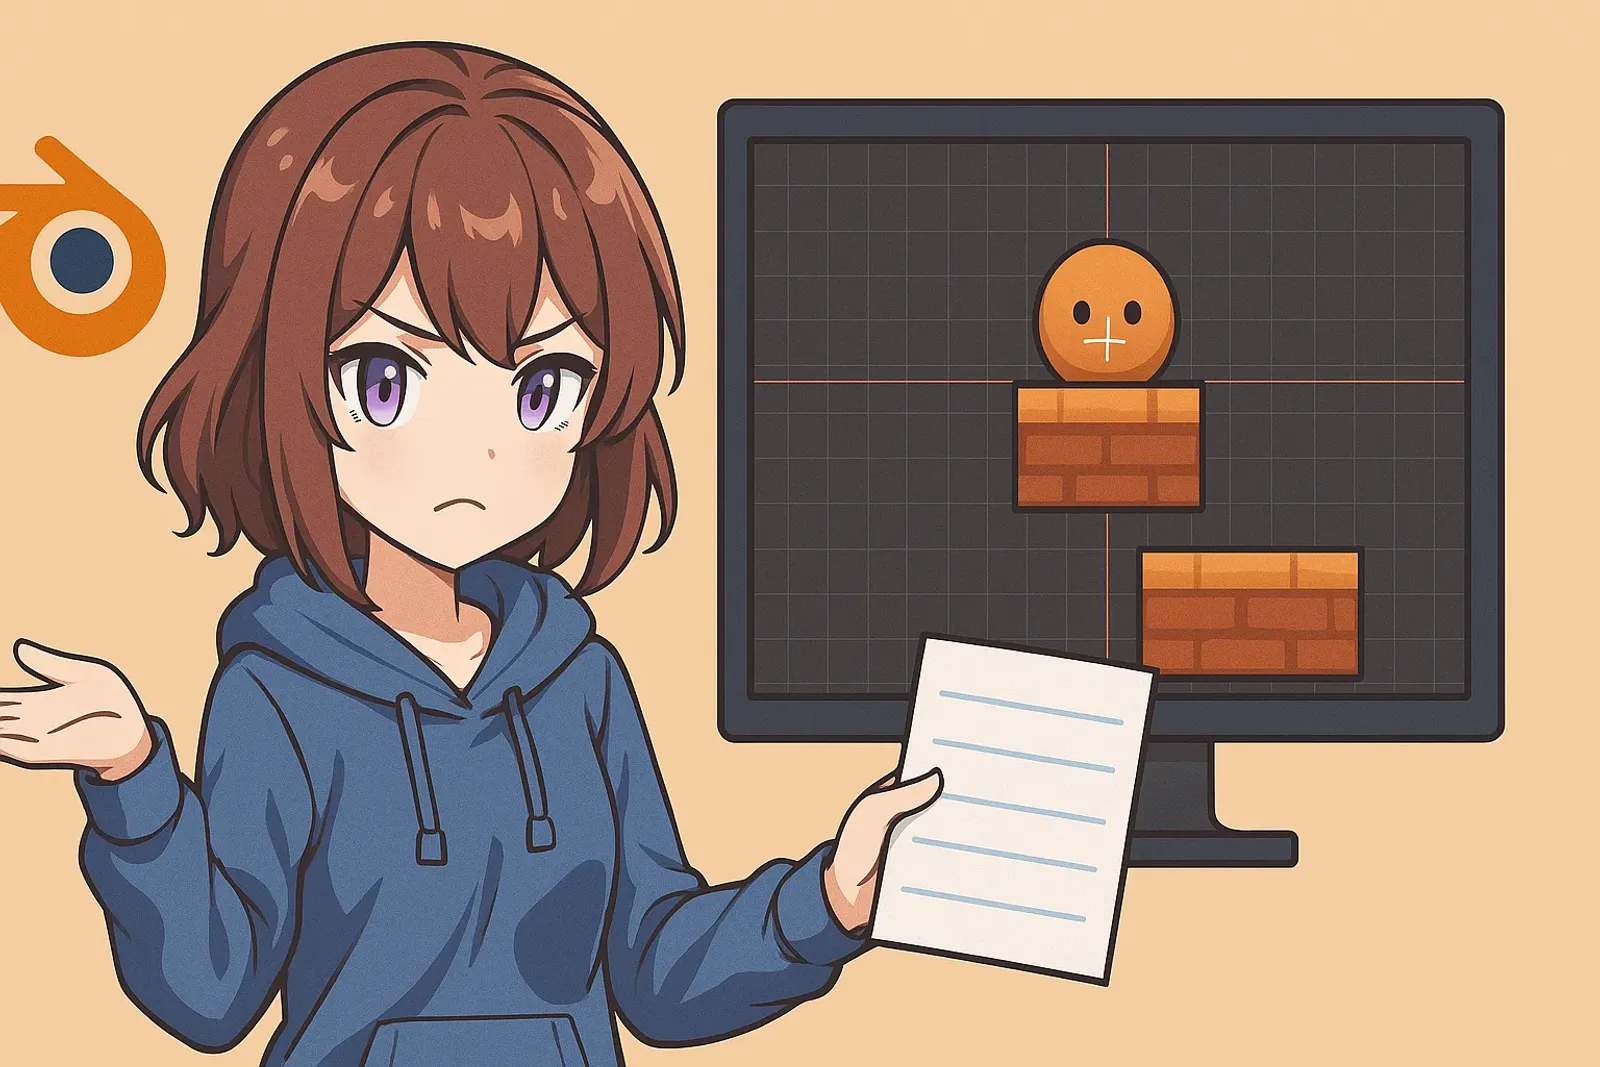
The biggest headache when making 2D game assets in Blender: How do you get all assets horizontally centered and vertically bottom-aligned?
Why is this so tricky?
- Blender is built for 3D, not 2D workflows
- Default pivot points and coordinates don’t match game engines
- Multiple assets need consistent positioning rules
The Solution: Reference Plane Method
After testing many approaches, the most reliable is the Reference Plane Method:
- Orthographic Camera - Use orthographic view, not perspective
- Reference Plane - Fixed position plane as alignment baseline
- Snap Alignment - Use snap tools for precise positioning
Implementation Steps
Step 1: Camera Setup
Camera Settings:
- Type: Orthographic
- Orthographic Scale: 6
- Position: X=0, Y=-10, Z=3
- Rotation: X=90°, Y=0°, Z=0°
Why these values?
- Scale 6 fits most assets
- Y=-10 gives enough distance
- Z=3 matches reference plane height
Step 2: Reference Plane
Create plane:
Plane Settings:
- Position: X=0, Y=0, Z=3
- Scale: Adjust based on asset size
- Purpose: Bottom alignment baseline
Key Point: Plane bottom edge (Z=3) is your alignment baseline.
Step 3: Object Alignment
For each asset:
-
Enable Snapping
- Press Shift+Tab
- Snap to: Vertex
-
Precise Positioning
- Move to X=0, Y=0 (horizontal center)
- Use snap to align bottom vertex with plane
- Ensure bottom edge aligns with Z=3
-
Verify
- Check camera view to confirm
- All objects at X=0, Y=0
- Bottom vertices at Z=3
Advanced Tips
Different Asset Sizes
- Keep reference plane position fixed
- Adjust camera scale (8, 10, 12)
- Larger assets need larger scale values
- Maintain consistent bottom alignment
Batch Workflow
-
Setup Template
- Configure camera and plane once
- Save as template file
-
Standard Process
- Import new object → Align to plane → Render → Next
-
Automation (Optional)
- Use Python scripts for automation
- Significantly boosts efficiency
Real Example: Character Run Animation
Goal: 8-frame run cycle
Setup:
- Reference plane Z=3
- Camera scale 6
- Output 512x512px
Process:
- Model character (neutral pose)
- Align bottom to reference plane
- Create 8 keyframes
- Ensure each frame maintains bottom alignment
- Batch render
Result: 8 perfectly aligned frames, ready for game engine.
Common Issues
Objects floating after export?
Cause: Bottom not aligned with plane
Fix: Use vertex snap to ensure lowest point touches Z=3
Assets misaligned in game?
Cause: Inconsistent reference plane position
Fix: Use same Z=3 baseline for all assets
Camera view inconsistent?
Cause: Wrong scale value
Fix: Keep scale consistent, adjust plane size instead
Key Takeaways
- Use templates: Don’t reconfigure camera/plane each time
- Unified baseline: All assets use same Z coordinate
- Use snapping: Manual alignment is unreliable
- Check first: Verify in camera view before export
- Document settings: Record scale values for different asset types
Conclusion
The Reference Plane Method solves Blender’s 2D asset alignment challenge. Initial setup is required, but efficiency and consistency improve dramatically once established.
Core Points:
- Orthographic camera with scale 6
- Reference plane at Z=3 for bottom alignment
- Assets positioned at X=0, Y=0 for centering
- Snap tools are essential
With this method, you can confidently create perfectly aligned 2D game assets in Blender every time.
Related Resources:
- Blender Official Documentation - Complete Blender user guide
- Blender Camera Setup Tutorial - In-depth camera configuration guide
- Blender Python API - Automation script development
- 2D Animation Techniques - Blender 2D animation tutorials on YouTube
Tags: #Blender #GameDev #2DAssets #Tutorial #Workflow